Dayton Countertop Replacement: Should the Backsplash Come Out Too?
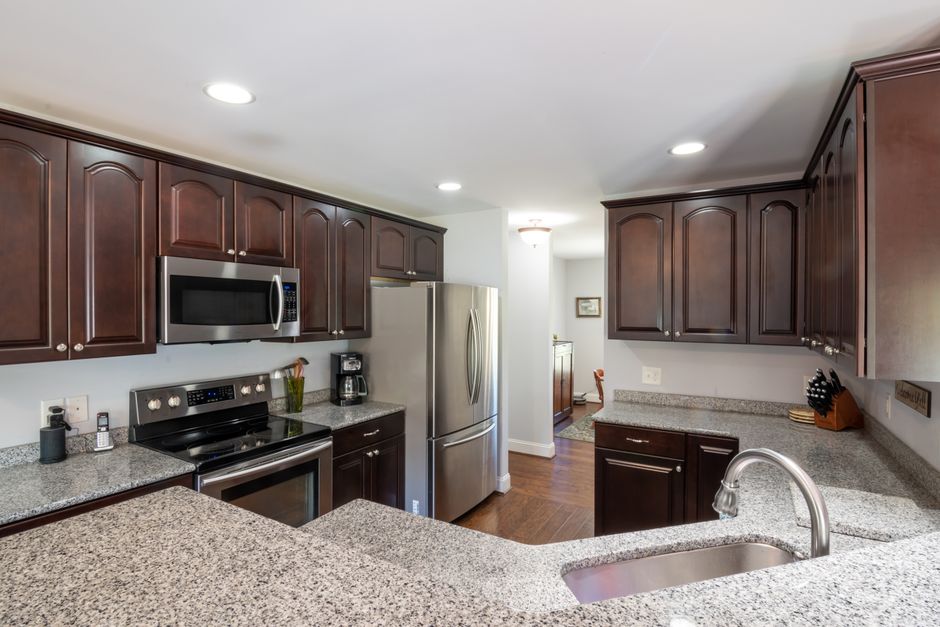
Yes, in most Dayton kitchens the backsplash should be replaced at the same time as the countertops, or at least be treated as likely to come out. The old top is attached to the wall, the old tile sits on or just above it, and the new top rarely matches the old one exactly. Keeping the backsplash is possible, but it works only under narrow conditions.
Why the Backsplash Rarely Survives a Countertop Swap
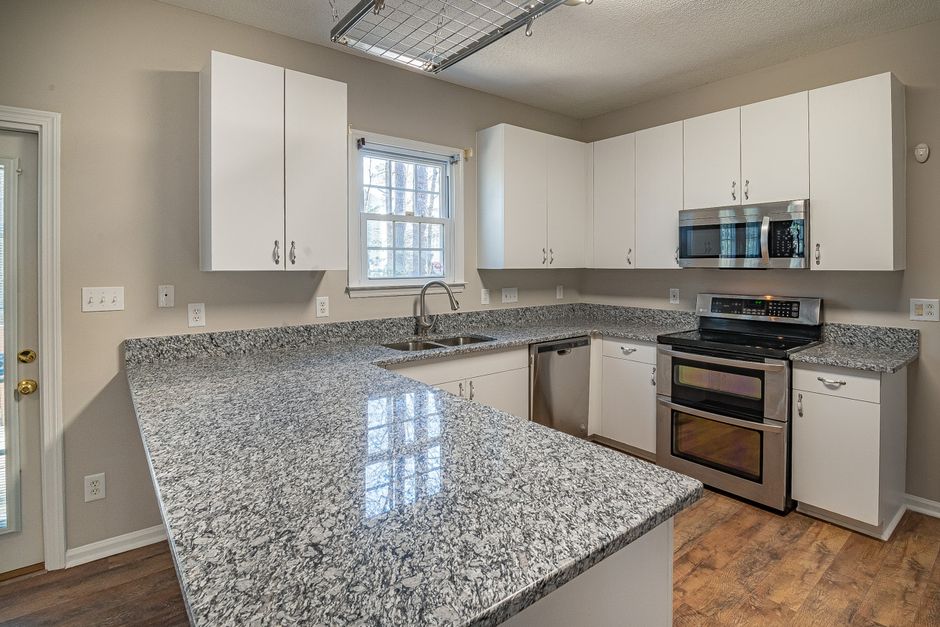
A tile backsplash is usually set so the bottom row rests on or just above the countertop. When the old top is pried loose, that bottom row often cracks or pops off. Plan on losing at least part of it before deciding to "keep" the rest.
Older laminate tops add another wrinkle. Many have a molded or attached splash, and pulling it off tends to tear the paper face of the drywall or leave patches of adhesive. The wall needs repair whether or not new tile was ever part of the plan.
This does not mean new countertops always destroy an existing backsplash. Careful removal sometimes saves it. It just should not be the assumption.
When Keeping the Old Backsplash Can Work
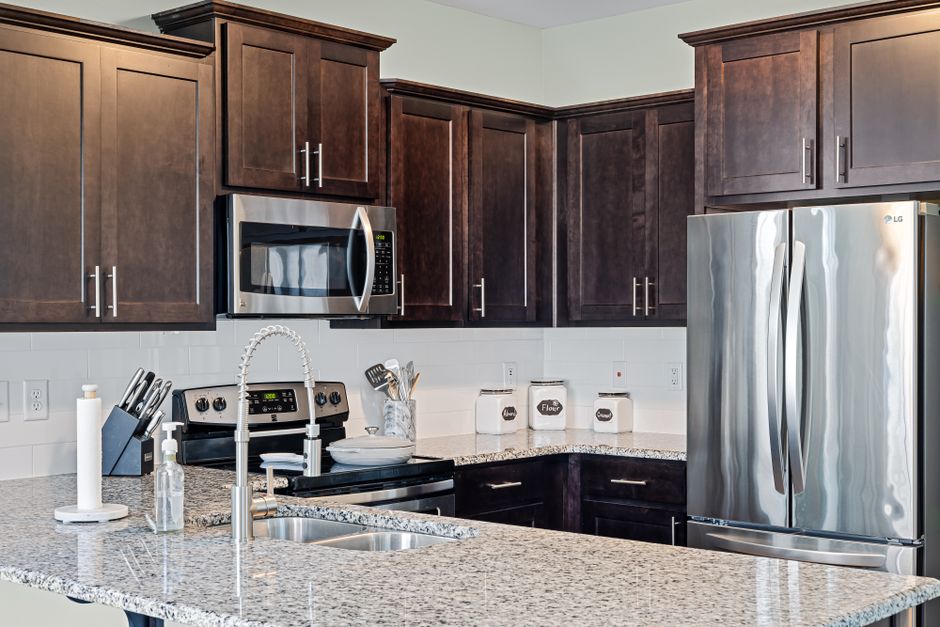
Keeping it makes sense only when three things line up:
- The new top matches the old one closely in height.
- The new top matches the old one closely in depth and overhang.
- The bottom row of tile survives removal.
New stone or engineered stone is often a different thickness than the laminate it replaces. Even a small change leaves a strip of bare wall, old adhesive, or a gap under the existing tile. A different front-to-back depth can expose wall that was never painted behind the old top.
If you go this route, ask the installer to remove the old top carefully, and keep spare matching tile on hand for repairs. Tile bought later from a different production lot is often hard to match, so a few leftover pieces from the original job are valuable.
Decide Before the Template Appointment
Timing matters more than most homeowners expect. A fabricator templates to the wall as it exists that day. If the old backsplash comes off after templating, the new top may not sit tight to the wall, because the surface it was measured against has changed.
So settle the backsplash question first. Either remove it before the template visit, or commit to leaving it and accept the limits that come with that choice.
Measure from the new countertop height, not the old one. This matters most where a window sill sits low over the counter, since it can limit splash height or force the splash to wrap or stop short.
Dayton Walls Have Their Own Surprises
Many homes in the Oregon District, South Park, and Dayton View have plaster over lath instead of drywall. Plaster tends to crack, crumble, or come off in chunks when tile is removed. Expect patching and leave time for it, because tile over crumbling plaster is likely to fail.
Older Dayton houses may also have lead-based paint somewhere in the kitchen wall layers. Before anyone scrapes, sands, or demolishes painted wall surfaces, test the paint and use dust control appropriate for lead. This is a good reason to raise the question with your installer before demolition day, not after.
Once the old tile is off, look at the wall behind the sink and around the faucet. Soft drywall, dark staining, or a musty smell points to a past leak. Fix that first, before anything new goes up.
A Stone Splash Needs a Cooperative Wall
If you want a matching backsplash, either a short ledge or full height, tell the fabricator before slabs are chosen. Splash pieces cut from the same slab match in color and veining. Pieces added later from a different slab may not.
Stone and engineered stone, including brands like Cambria, need a reasonably flat wall. Older walls are often wavy or out of plumb, which leaves visible gaps behind a rigid splash. A slab cannot be installed tight against just any wall without scribing or shimming. Tile follows small irregularities more forgivingly, which is one reason a tile backsplash above a stone top is so common.
Solid surface materials such as Corian and Avonite can be shaped with an integral coved splash, but they still depend on a wall that is sound and reasonably straight.
Cutouts, Dust, and Where the Work Happens
Outlet and switch cutouts in a stone or engineered stone splash are best cut in the shop. Cutting engineered stone releases respirable crystalline silica (silicon dioxide), and dry cutting indoors puts installers and anyone nearby at risk. Any on-site cuts should be wet cut with dust control.
The documented hazard of silicosis is to workers cutting, grinding, and polishing the material. It is not a concern for a finished countertop in normal kitchen use. Still, it is fair to ask how a fabricator handles cutting and dust.
The Right Order of Work
Countertops first, then tile. Tile set onto a finished, level top gives a straight bottom line and a clean joint.
Before the new tops go on, check that the kitchen cabinets are level and solidly fastened. Shimming to level can raise the top slightly, which changes where the backsplash must start.
After installation, allow time for any required sealing or cure. Ask the countertop installer what they recommend before tile setters lean materials or tools on the new surface.
Prepping the Wall for Tile
Before tiling, the wall should be sound, flat, clean, and primed where patched. Tile over loose paint, damaged paper, or crumbling plaster is likely to fail. Putting new tile directly over old tile is not always safe either, since it can affect fit, outlet depth, and the countertop joint.
Outlets on the backsplash wall may need box extenders once tile or a slab is added. Without them, the outlet sits recessed and the cover plate does not seat properly. Have that handled by someone qualified in electrical work.
Choosing Material for Dayton Conditions
Dayton's municipal water is hard, drawn from the Great Miami buried valley aquifer. Mineral spotting builds up around faucets. A stone splash, or tile with tight joints and a stain-resistant grout behind the sink, is easier to clean than wide, porous grout lines.
Behind a range, the backsplash takes heat and grease spatter. Choose a material rated for that spot, and confirm the clearance between a slide-in range and the wall before the splash goes in. Glass tile looks bright but is translucent, so thinset color and trowel lines can show through. It usually needs a white setting material and full coverage.
No countertop material is completely stain proof, heat proof, or maintenance free, and that includes engineered stone. A backsplash also protects the wall from water and splatter, so it is not only decoration.
Special Case: Butcher Block
Butcher block expands and contracts across its width with seasonal humidity. Ohio's humid summers and dry, heated winters make that movement noticeable. Leave a small gap at the wall and let the backsplash or a flexible caulk cover it, rather than locking the wood tight.
Caulk the Joint, Do Not Grout It
Where the backsplash meets the countertop, use a flexible sealant, not grout. Tops and walls move slightly, and grout in that joint tends to crack and let water behind the tile. This applies to every material, stone, laminate, or wood.
Buy Extra Tile
Order extra tile from a single production lot. A few spares cover breakage during installation and any future repair, and matching an exact color later is often difficult.
A Simple Way to Decide
Replace the backsplash with the countertops if the height or depth will change, if the wall is plaster, if the old top has an attached splash, or if the bottom tile row is already cracked. Keep it only if the new top lines up closely and your installer is willing to remove the old one with care.
Either way, make the decision before templating. That one step prevents most of the gaps, mismatches, and repeat work that homeowners run into after a countertop swap.